Synology Data Backup by Hyper Back and Rclone
This is my first time that write a blog by english. I think it is a better way to practice my english skill. I will try not to use the translate tools. So it must be many errors.
Abstract
I am always confuse about my data backup in 123 Pan. The backup speed is too slow. Some files even cost 2 month! After analyzing, I found the core reason is that the file size and the number of the small files. If I continue to use CloudSync with WedDAV, the big size is difficult to upload. And there are a lot of small files. So I write this blog to record my thoughts.
The basic sturcture is: HyperBackup - [rsync] - iStoreOS - rclone - [WebDAV] - 123
1 iStoreOS Install
Not necessary, but write the process in this blog.
This is the official document:
Download the firmware: KoolCenter 固件下载服务器
istoreos-24.10.4-2025102410-x86-64-squashfs-combined.img.gz

Delete the disk:
Other option are normal. The ID of the virtual machine is 102.
Download the img2kvm: KoolCenter 固件下载服务器
Use FTP transfer the img.gz and img2kvm to the 102 root
SSH to virtual machine:
ssh root@192.168.1.2
cd root
chmod 777 ./img2kvm
./img2kvm istoreos-24.10.4-2025102410-x86-64-squashfs-combined.img.gz 102
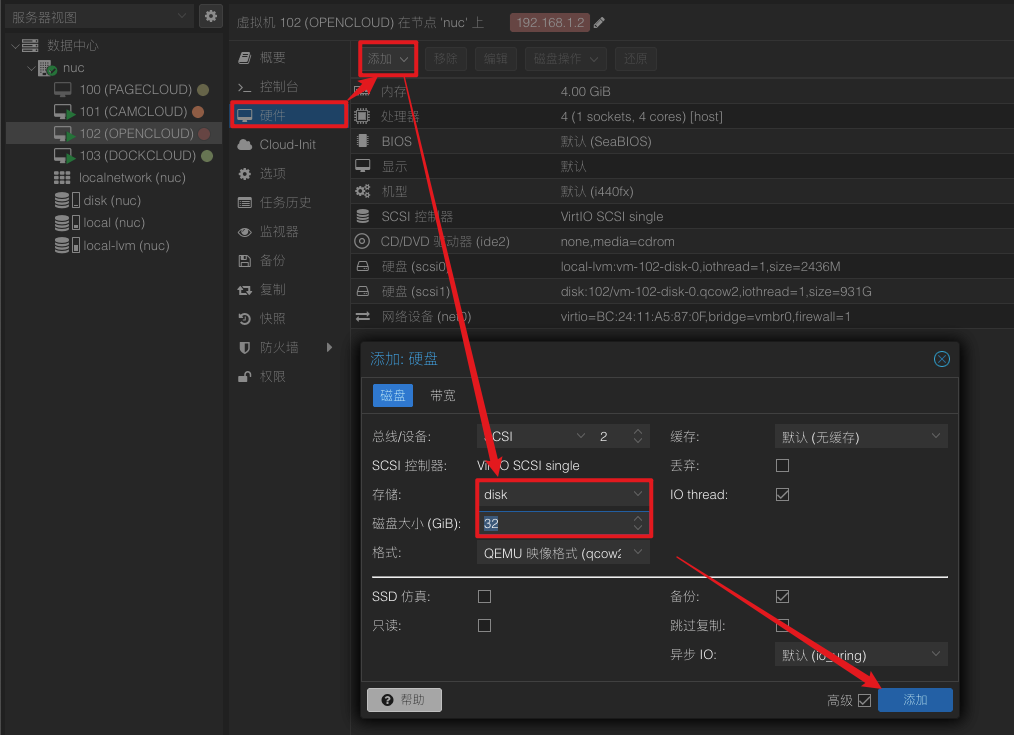
Add the disk to 102.
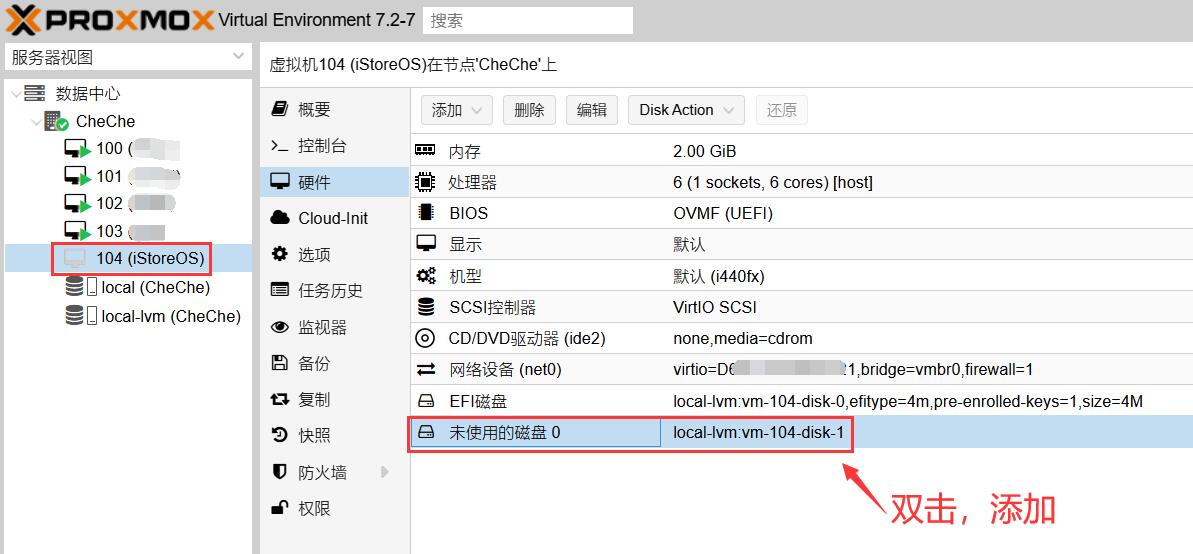
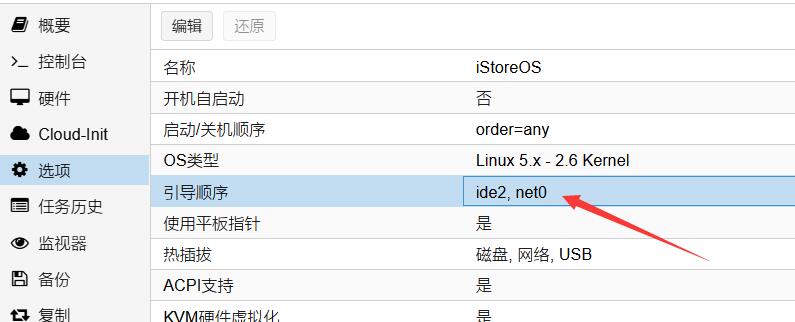
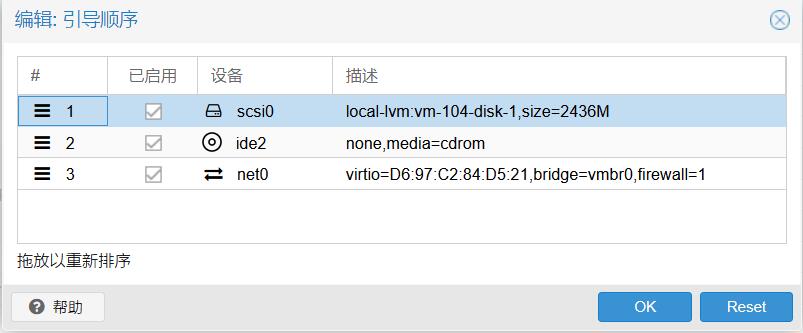
Set the boot sequence:
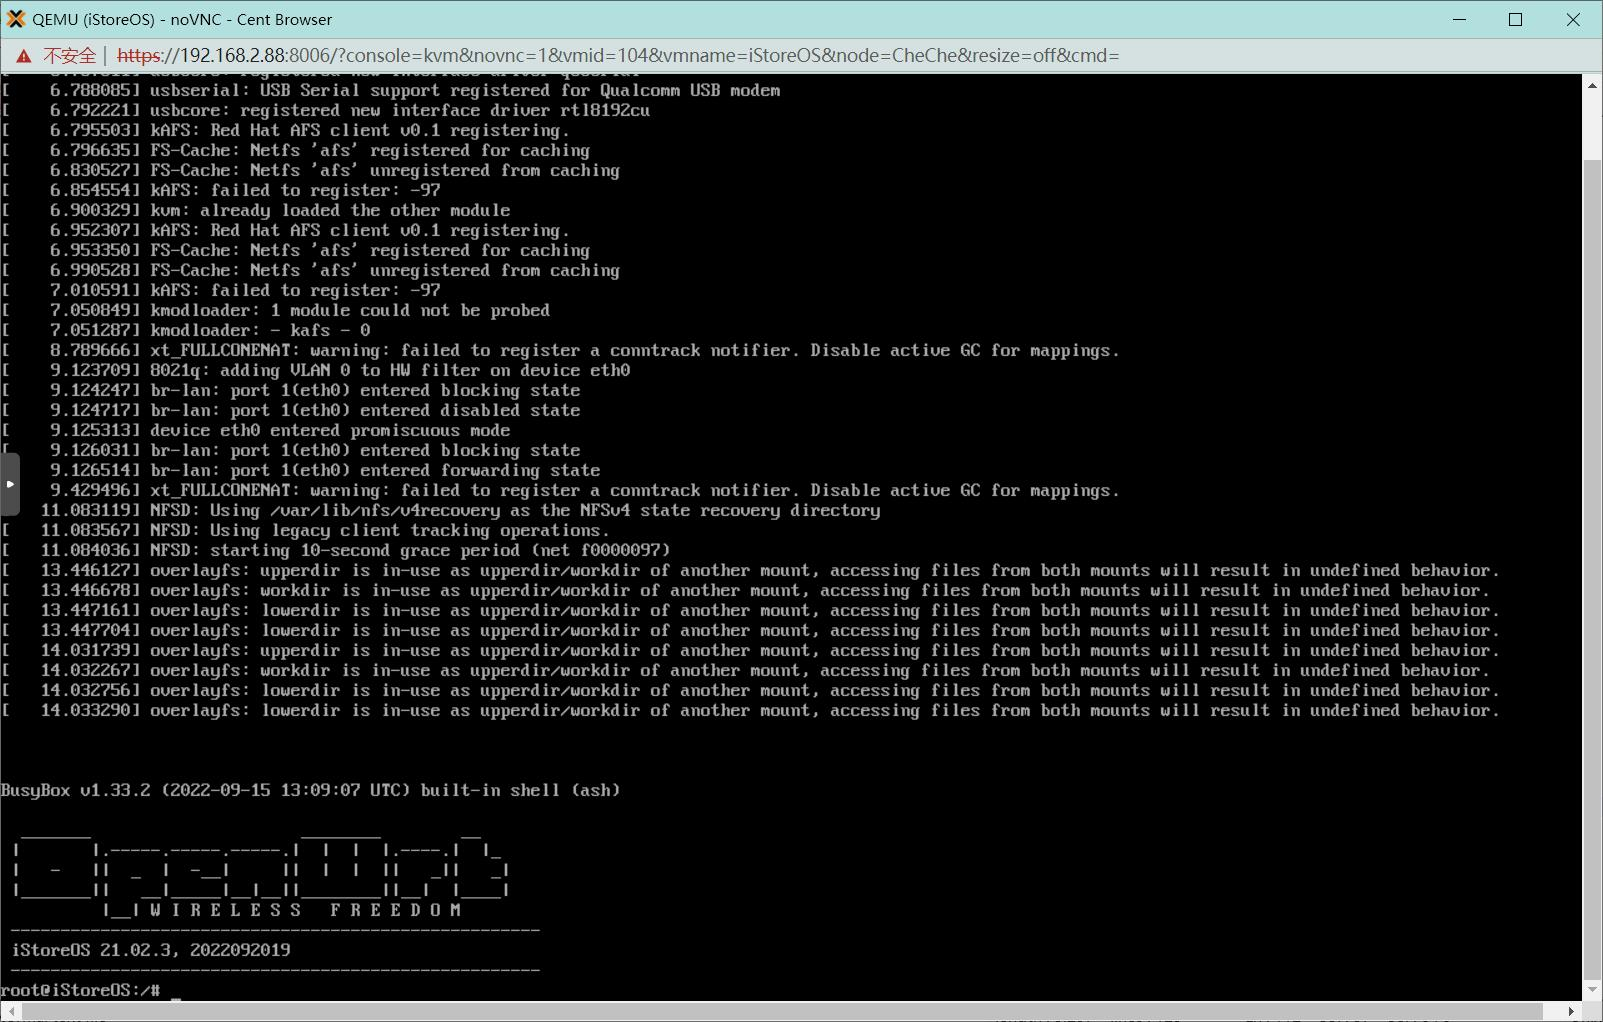
Strat the 102
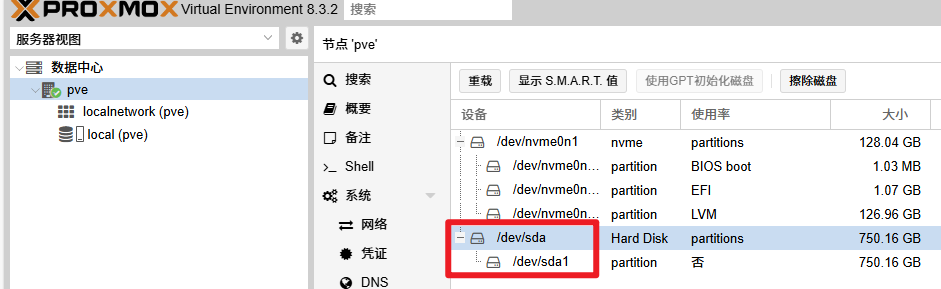
2 Add Disk to iStoreOS
For example, the HHD name is /dev/sdb
SSH to PVE, delete other partition.
fdisk /dev/sdb
d # delete the partition
n # add a new partition
p # primary
[enter]
[enter]
Format the partition:
mkfs -t ext4 /dev/sdb1
mkdir /mnt/disk
mount -t ext4 /dev/sdb1 /mnt/disk
Set auto mount after start up:
echo “mount -t ext4 /dev/sda1 /mnt/seagate” >> /etc/rc.local
Add hard disk in 102:
Initialize the hard disk in the iStoreOS.
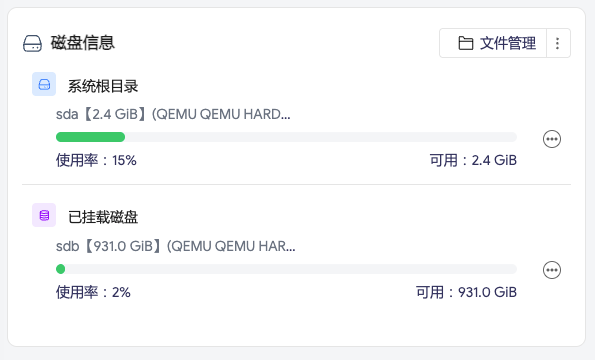
The hard disk will map to the root/mnt/sdb
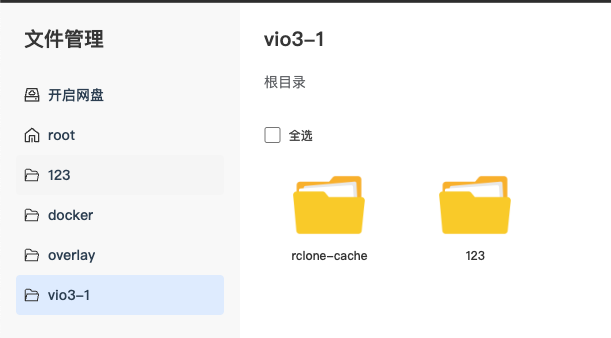
Creating mount folders and cache folders:
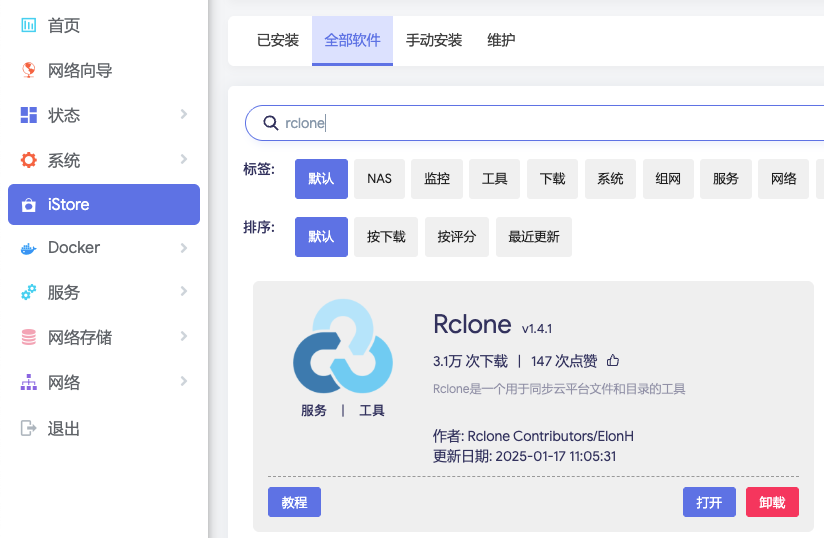
3 Config Rclone
Install Rclone in iStore:
SSH to iStoreOS, add cloud drive WebDAV:
You need know the address, username, and secret of the WebDAV service.
rclone config
n) New remote
name> [NAME]
Storage> weddav
url> https://webdav.123pan.cn/webdav
vendor> [enter]
y) Yes, type in my own password
password: [USERNAME]
password: [PASSWROD]
bearer_token: [enter]
n) No (default)
y) Yes this is OK (default)
Test:
clone ls [NAME]:
Mount the WebDAV:
rclone mount 123: /mnt/vio3-1/123 \
  --config /root/.config/rclone/rclone.conf \
  --header "Referer:" \
  --vfs-cache-mode full \
  --cache-dir /mnt/vio3-1/rclone-cache \
  --vfs-cache-max-size 50G \
  --vfs-cache-max-age 24h \
  --buffer-size 32M \
  --dir-cache-time 12h \
  --vfs-fast-fingerprint \
  --no-modtime \
  --umask 002 \
  --allow-other \
  --daemon
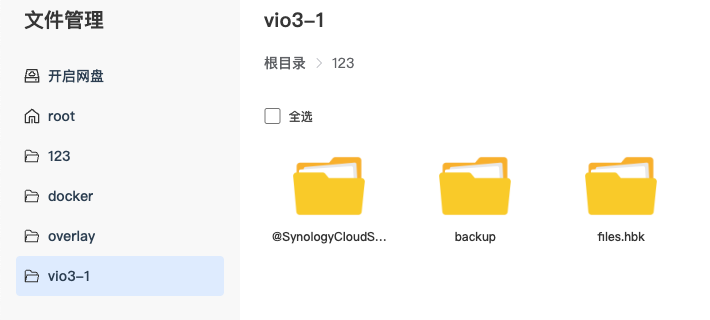
Open the file manager in iStoreOS, you can see the remote file in the local folder:
4 Set rsync
SSH to iStoreOS:
opkg update
opkg install rsyncd
Modify the config file:
vi /etc/rsyncd.conf
The file add:
pid file = /var/run/rsyncd.pid
log file = /var/log/rsyncd.log
use chroot = no
uid = root
gid = root
read only = no

[backup]
path = /mnt/vio3-1/123
comment = Synology HyperBackup
read only = no
list = yes
auth users = synology
secrets file = /etc/rsyncd.secrets
Modify the secret:
vi /etc/rsyncd.secrets
i
synology:XXXX
[esc]
:wq!
chmod 600 /etc/rsyncd.secrets
Start and set up boot-up
/etc/init.d/rsyncd enable
/etc/init.d/rsyncd start
Test:
netstat -an | grep 873   # 或者 ss -ltnp | grep 873
ps | grep rsync
rsync rsync://127.0.0.1/
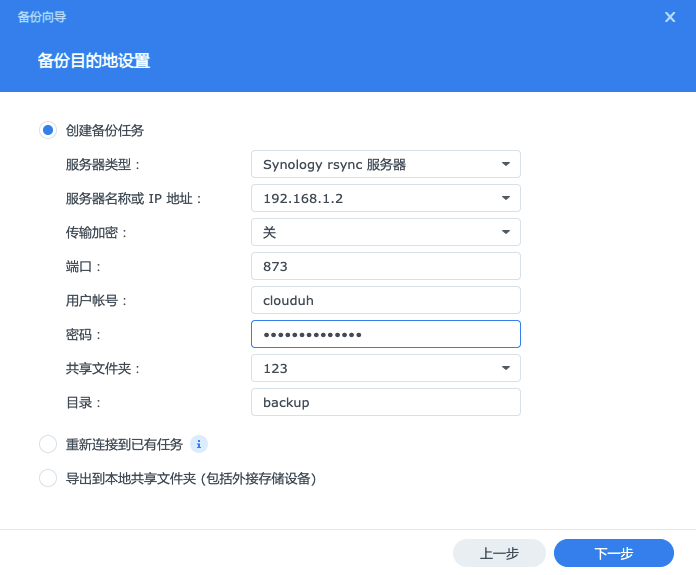
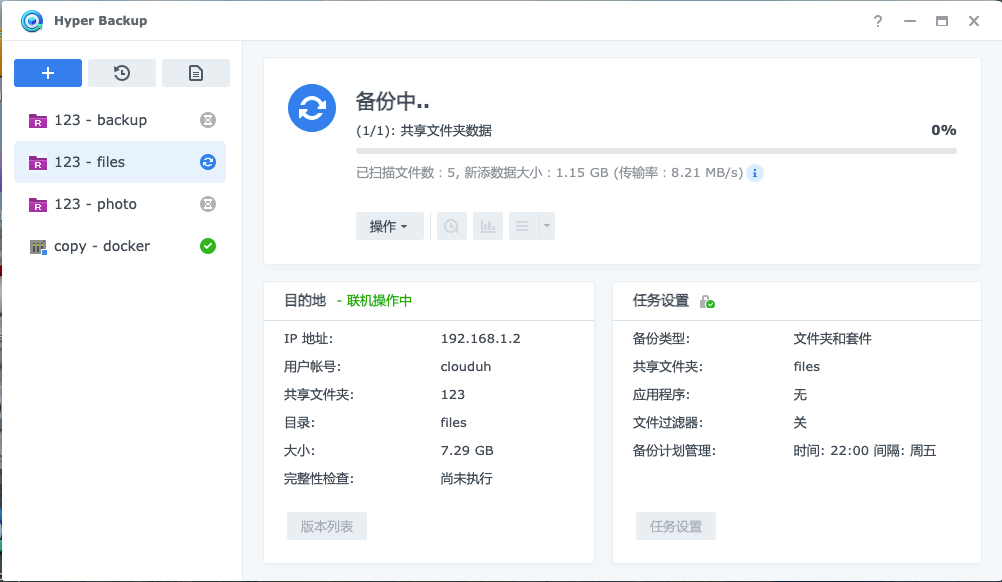
5 Hyper Back Config
Open Synology, and start Hyper Backup application.
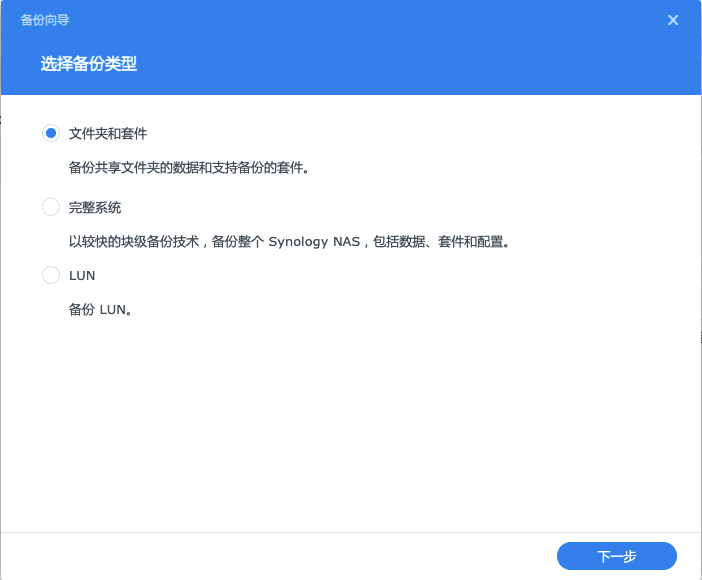
Select the rsync option, and continue.
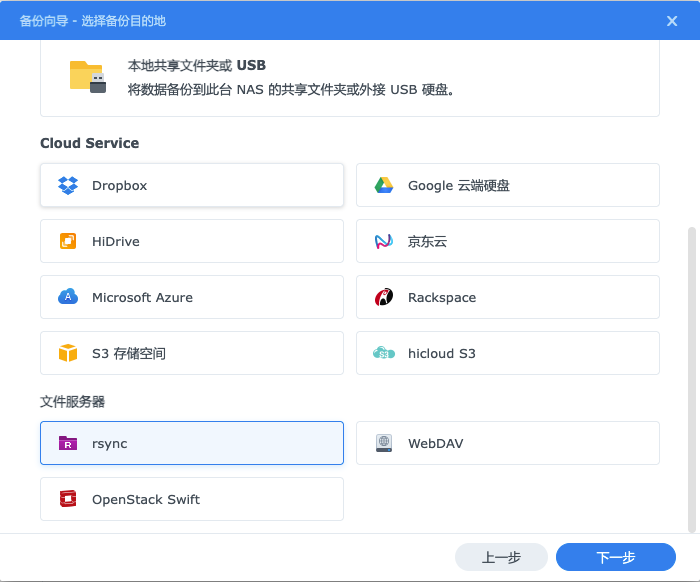
Input the IP address, username, password, and catalogue.